| POST (hex) |
DESCRIPTION |
SYMPTOM |
CAUSE |
ACTION |
| CF |
Test CMOS R/W functionality |
Power on -> Stop at CF |
Jumper set to 2-3 pin. (Need to set to 1-2 pin—correct setting ) |
Check CMOS jumper settings at right setting as 1-2 pin—correct settingsMake sure it is not loose |
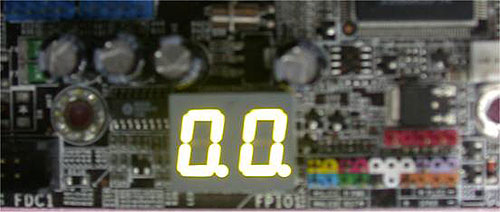
| 00 |
First step initial time |
Hang on 00 |
One of the CPU , BIOS Northbridge, Southbridge chipset may damage |
1. Clear CMOS first2. Send to RMA at last |
| A0~AF |
Boot clock initial programs |
00->AF00 stop at A0->AF |
Chipset or BIOS damage |
1. Clear CMOS2. Send to RMA at last |
| B0~BFb0~bF |
Boot clock initial programs |
00 stop at B0->BF00 stop at b0->bF |
Chipset or BIOS damage |
1. Clear CMOS2. Change memory3. Send to RMA at last |
| E0~EF |
Boot clock initial programs |
00->EF |
Memory damage |
1. Clear CMOS2. Change memory3. Send to RMA at last |
| C0 |
Early chipset initialization:-Disable shadow RAM-Disable L2 cache (socket 7 or below)-Program basic chipset registers |
Power on -> Stop at C0 |
Can not detect RAMor SPD value lost |
1. Clear CMOS first2. Send to RMA at last |
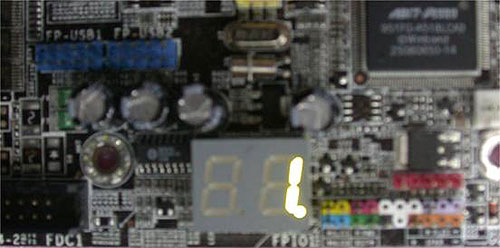
| C1 |
Detect memory-Auto-detection of DRAM size, type and ECC-Auto-detection of L2 cache (socket 7 or below) |
Power on -> Stop at C100->C0->C1 |
1. SPD value lost2.graphic card error3.DIMM slot damage4. Over clocking issue |
1. Please update flash BIOS first2. Please change graphic card3. Change slot first or send to RMA at last4. Clear CMOS and load BIOS default |
| C3 |
Expand compressed BIOS code to DRAM |
Power on -> Stop at C300->C0->C3 looping |
1. SPD value lost2.graphic card error3.DIMM slot damage4. Over clocking issue |
1. Please update flash BIOS first2. Please change graphic card3. Change slot first or send to RMA at last4. Clear CMOS and load BIOS default |
| 25 |
Early PCI Initialization:-Enumerate PCI bus number.-Assign memory & I/O resource-Search for a valid VGA device & VGA BIOS, and put it into C000:0 |
00->C1->C3-> Stop at 25 |
BGA error |
Change graphic cards or unplug card and plug card back in again |
| 26 |
1. If Early_Init_Onboard_Generator is not defined Onboard clockgenerator initialization. Disable respective clock resource to empty PCI & DIMM slots.2. Init onboard PWM3. Init onboard H/W monitor devices |
00->C1->C3-> Stop at 26 |
BGA or Graphic card errors |
Change graphic cards or unplug card and plug card back in again |
| 41 |
Initialize FDD device |
C3->25->26 -> Stop at 40 |
Floppy detect error |
Unplug FDD cable check error or check BIOS settings |
| 50 |
Initialize USB |
1. Power on -> Stop at 502. 00->C3->503. 2X-> 4X -> Stop at 50 |
USB boot fail(BBS issue)2. Incompatible USB devices |
Clear CMOS firstChange USB port or remove USB deviceDisable USB 5v stand by jumper |
| 75 |
Detect & install all IDE devices: HDD, LS120, ZIP, CDROM … |
4X->5X->Stop at 75 |
1. No IDE Device Power connected2. SATA or PATA device incompatible3. Device response time too long |
1. Clear CMOS2. Check cable3. Check IDE device connector or change other PATA/ SATA devices4. Wait for a longer time (10~20 minutes) to detect device |
| 7F |
Switch back to text mode if full screen logo is supported-If errors occur, report errors & wait for keys-If no errors occur or F1 key is pressed to continue: Clear EPA or customization logo |
4X->5X->Stop at 7F |
Checksum ErrorBroken IDE cableLoad BIOS default |
Press Del bottom and load into BIOS, load optimized default. If problem remains the same, we suggest you send to RMA at last |
| FF |
Boot attempt (INT 19h) |
Power on -> Stop at FF |
Normal Operation |
blank |
 1.
1.